Every baker who has kept a classic crock on the counter knows the quiet guilt of the discard bowl. We watch cup after cup of flour slip down the drain or pile up in the refrigerator, mixed into half-hearted pancakes simply to avoid waste. This cycle is not an inevitable tax on wild yeast cultivation. It stems from a routine designed for industrial production lines rather than the rhythm of a home hearth, where flour is treated as bulk inventory instead of milled grain that demands respect.
A starter stays lively not through the sheer mass of paste we feed, but through the cadence and ratio of the replenishment. When we learn to husband our culture in small, dense increments, we conserve stone-ground grain while sharpening the balance between lactic acid bacteria and wild yeasts. By tuning the water, the flour grade, and the ambient temperature, we can maintain an active culture using no more than a spoonful of seed, keeping the jar sweet, muscular, and perpetually ready for dough.
Balancing Bacterial Acidity Against Yeast Activity
A sourdough culture is an ecosystem dominated by two primary organisms: wild yeasts, chiefly Kazachstania exigua and Candida humilis, and lactic acid bacteria such as Fructilactobacillus sanfranciscensis. The bacteria outnumber the yeasts roughly one hundred to one under balanced conditions. They digest maltose and produce lactic and acetic acids, which drop the pH of the mixture down between 3.8 and 4.2. This acidity protects the culture from mold and pathogens, but excessive acid accumulation eventually suppresses yeast budding and degrades gluten integrity.
When a culture sits unrefreshed past its peak, the bacteria continue producing acid even as the yeasts run out of fermentable sugars. The mixture turns thin, gray, and acetone-scented. If we repeatedly feed this over-acidified paste using a meager flour addition, we carry forward an excessive acid load. The yeast struggles to lift dough because the low pH prematurely weakens the flour's gluten network, leading to pale loaves that collapse in the oven. To counter this, we adjust dilution ratios according to ambient temperature and schedule.
| Feed Ratio (Seed:Flour:Water) | Target Temperature | Peak Activity Window | Dominant Flavor Character |
|---|---|---|---|
| 1:2:2 (e.g., 10g seed, 20g flour, 20g water) | 18 to 21 degrees Celsius | 5 to 7 hours | Mild, creamy, milk-sweet |
| 1:5:5 (e.g., 5g seed, 25g flour, 25g water) | 22 to 24 degrees Celsius | 8 to 11 hours | Balanced tang with bright fruit notes |
| 1:10:10 (e.g., 3g seed, 30g flour, 30g water) | 25 to 27 degrees Celsius | 10 to 14 hours | Assertive acetic sharpness, clean finish |
To preserve yeast vitality, we feed before the dome completely collapses into a runny slurry. A higher dilution, such as one part seed to five parts flour and five parts water by weight, flushes out built-up acids and gives the yeasts ample time to multiply before the bacteria drive the pH below their comfort threshold.
Setting Up a Low-Volume Scrapings Routine
The standard recommendation to keep two hundred grams of starter on the counter requires discarding roughly a kilogram of flour every week. We abandon this bulk in favor of the scrapings technique. By working with total batch weights under forty grams, there is zero discard: every gram fed into the jar becomes the inoculum for the next loaf, leaving only a film behind on the glass to carry forward.
To establish this rhythm, we rely on clean tools and exact weights rather than volume cups. A clear glass jar with straight sides and a loose-fitting lid lets us monitor gas pockets without allowing the surface to dry into a hard rind.
- Harvesting the leaven: When preparing to bake, stir thirty grams of flour and thirty grams of water into six grams of starter remnant in your jar. Set it in a warm corner until it peaks, then spoon sixty grams directly into your bread dough mix.
- Assessing the jar remnant: Do not wash the jar. The residue clinging to the glass walls and bottom contains between two and five grams of viable culture, which is all we require for the next cycle.
- Replenishing the scraping: Add fifteen grams of unbleached flour and fourteen grams of water directly into the unwashed jar. Use a narrow wooden spatula or clean palette knife to scrape the sides, working the dry flour into the dried remnants until completely incorporated.
- Resting and sealing: Screw the lid on loosely so fermentation gases escape. Allow the small mass to expand by half its volume at room temperature, then transfer it directly to a cold pantry or refrigerator until the next baking day.
This routine eliminates the waste bowl entirely. You never mix more starter than you intend to bake with, and your maintenance feeding uses less flour than dusting a peel.
Choosing Water Chemistry and Flour Milling Grades
What we feed the jar determines the structural density of the ferment. Flours differ significantly in their ash content, enzymatic activity, and particle geometry. Whole-grain rye brings an abundance of pentosans and minerals that accelerate fermentation, while high-extraction wheat offers durable gluten scaffolding that traps carbon dioxide clearly for visual reading.
We prefer a balanced blend for maintenance: seventy-five parts unbleached strong bread flour (roughly twelve to thirteen percent protein) combined with twenty-five parts whole stone-ground rye or whole wheat. The stone-ground portion brings the natural yeasts residing on the outer bran, alongside micronutrients that sustain cell division. The white bread flour provides a clean, elastic starch matrix that will not turn soupy as rapidly as pure whole grains.
Water chemistry also plays a decisive role. Heavily chlorinated tap water acts as a mild antimicrobial agent, muting yeast performance and favoring resilient, off-flavored wild bacteria. If municipal water smells noticeably of chlorine, leave it in an open earthenware pitcher overnight to allow the gas to evaporate, or pass it through a carbon filter. Aim for moderately hard water, containing roughly fifty to one hundred parts per million of dissolved minerals like calcium and magnesium, which serve as essential cofactors for yeast enzymes during starch breakdown.
Reading the Expansion Curve by Eye and Smell
Clocks are poor guides for fermentation because kitchen temperatures shift between morning dough work and evening rest. We judge readiness through sensory benchmarks: the shape of the top surface, the aerated pattern against the glass, and the evolving scent of the headspace.
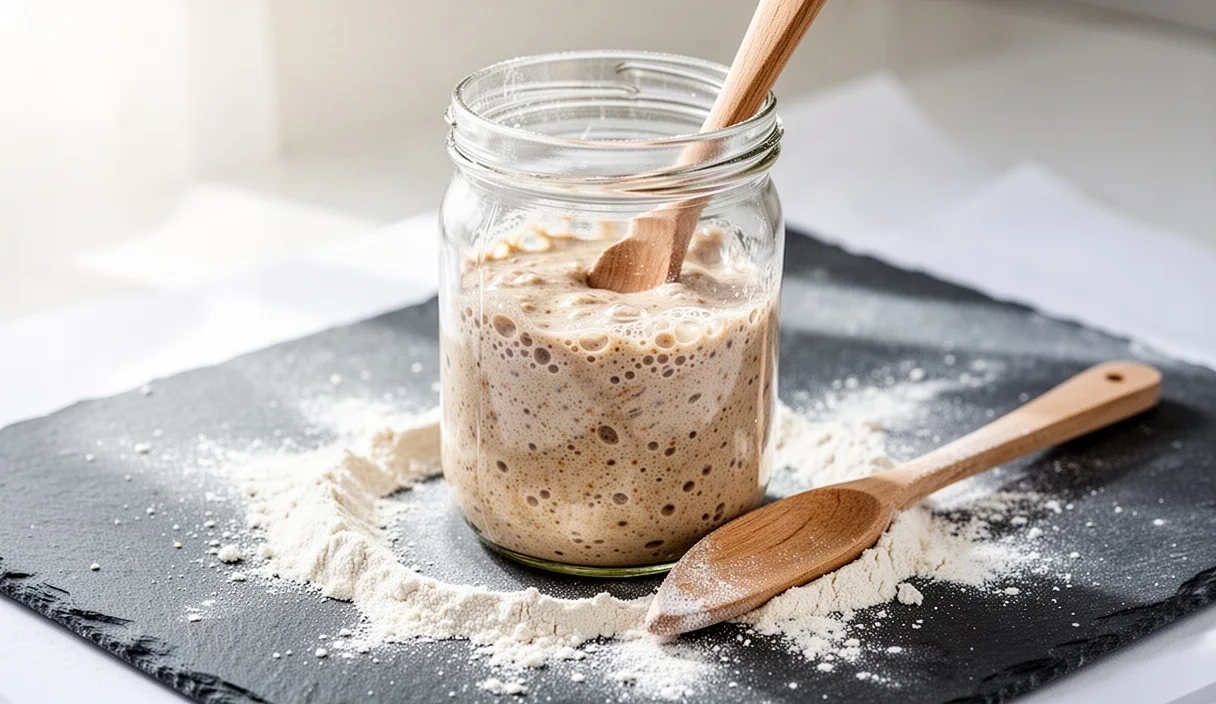
Immediately after mixing, the starter sits low, dense, and flat, smelling faintly of raw paste and wet grain. As the yeasts process simple sugars into carbon dioxide and ethanol, gas bubbles form beneath the surface, pushing the mass upward. During the rising phase, the top surface rounds upward into a convex dome, tensioned like an inflated skin. Tiny pinprick bubbles appear across this crest.
Sensory Indicators Along the Curve
- Young (Two to three hours post-feed): Surface is flat to slightly domed; texture is dense and pasty; aroma is sweet, like sweet corn or cereal mash. Not ready for leavening.
- Peak (Five to seven hours post-feed at 23 degrees): Surface is distinctly convex, doming high against the glass; interior reveals a webbed, spongy structure; scent is complex, carrying green apple, light cider, and mild yogurt. This is the prime moment to mix into dough.
- Past Peak (Eight to ten hours post-feed): The center of the dome levels out and begins to drop, leaving a sticky tide line on the glass; bubbles become irregular and tear through the surface; scent shifts toward sharp cider vinegar, sharp alcohol, and pungent cheese. Acid is now rising rapidly.
- Exhausted (Twelve hours and beyond): The surface sinks into a concave depression, often weeping a grey-yellow liquid layer (hooch); texture is runny and ropey; scent carries harsh acetone or sour beer notes. Needs dilution immediately.
Baking with starter at the apex of its convex dome ensures maximum yeast populations alongside mild, well-buffered acidity. Using it after it has fallen flat transfers degraded enzymes and sharp acetic notes into your bread, resulting in a tighter crumb and darker, tougher crust.
Cold Stash Strategies for Infrequent Bakers
For those who bake once a week or once a month, keeping a starter on the kitchen counter requires daily attention that yields unnecessary discard. Storing the culture in the cold arrests metabolic activity, but standard wet starters degrade within seven days in the refrigerator as cold-tolerant bacteria slowly acidify the dormant mass.
To preserve starter health over extended dormant periods, we employ two distinct preservation styles depending on your expected absence.
The Stiff Seed Method (One to Three Weeks)
Reduce hydration to create a stiff paste rather than a wet batter. Mix ten grams of active seed with thirty grams of flour and eighteen grams of water. Knead this small nugget in your hands until it forms a tight, smooth ball. Place it into a small jar, seal the lid completely, and leave it at room temperature for one hour to let the yeasts establish their hold. Then move it into the coldest shelf of the refrigerator (between two and four degrees Celsius). The reduced water activity slows acid migration, keeping the yeast alive and sweet for up to twenty-one days without refreshing.
The Dried Flake Method (Months to Years)
If you take a break from the oven over the summer months or travel, dry a portion of your culture. Take twenty grams of peak-activity starter and spread it paper-thin across a sheet of parchment paper using an offset spatula. Leave it on an open counter away from direct sunlight for twenty-four to thirty-six hours until it turns brittle and translucent. Break the dried sheet into shards and store them in an airtight jar in a dark pantry cupboard. Kept dry and cool, these flakes remain viable for years. To revive them, steep five grams of flakes in twenty grams of tepid water for two hours until softened, then feed with twenty grams of flour blend.
Common Mistakes
Bakers often run into trouble by over-complicating what should be an austere craft. These missteps usually stem from working against the biology of the culture rather than with it:
- Over-feeding a sluggish starter: Adding fresh flour and water to a starter that has not yet begun to ferment dilutes the tiny population of active yeast cells. If your culture shows no gas, wait; do not feed again until you see bubbles.
- Using excessively hot water: Water above thirty-eight degrees Celsius damages wild yeast strains and encourages heat-tolerant bacteria that sour the jar rapidly. Aim for lukewarm water, between twenty-two and twenty-six degrees Celsius.
- Washing the storage jar with harsh detergents: Soap residues left on jar walls can disrupt wild microflora. Rinse the jar with hot tap water and a stiff bristle brush instead of heavy sanitizing chemicals.
- Relying on bleached white flour: Chemically treated flours lack the mineral content and wild microbial populations needed to sustain vigor over multiple generations. Always reach for unbleached, untreated grains.
Practical Next Steps
Transitioning away from the high-waste cycle takes only a single baking session. At your next mix, take the small jar that currently sits in your kitchen and let it run down to the final scraping rather than tossing the surplus into the trash. Weigh out twenty grams of your regular flour blend alongside twenty grams of cool spring water, stir it directly into those remnants, and observe the pace of the rise.
Keep a pencil nearby to mark the height of the expansion on the glass every two hours. By tracing this curve across a quiet weekend afternoon, you will discover the precise peak window of your own home kitchen. Once you understand the sensory cues of dome, scent, and cell structure, you can bake consistently loaf after loaf, handling flour with the economy and purpose of a traditional hearth.